
 [code]smith
 Proof
Proof*.ghe.com), in addition to github.com. To get set up on either, email our support team at [email protected].
Create and install the App
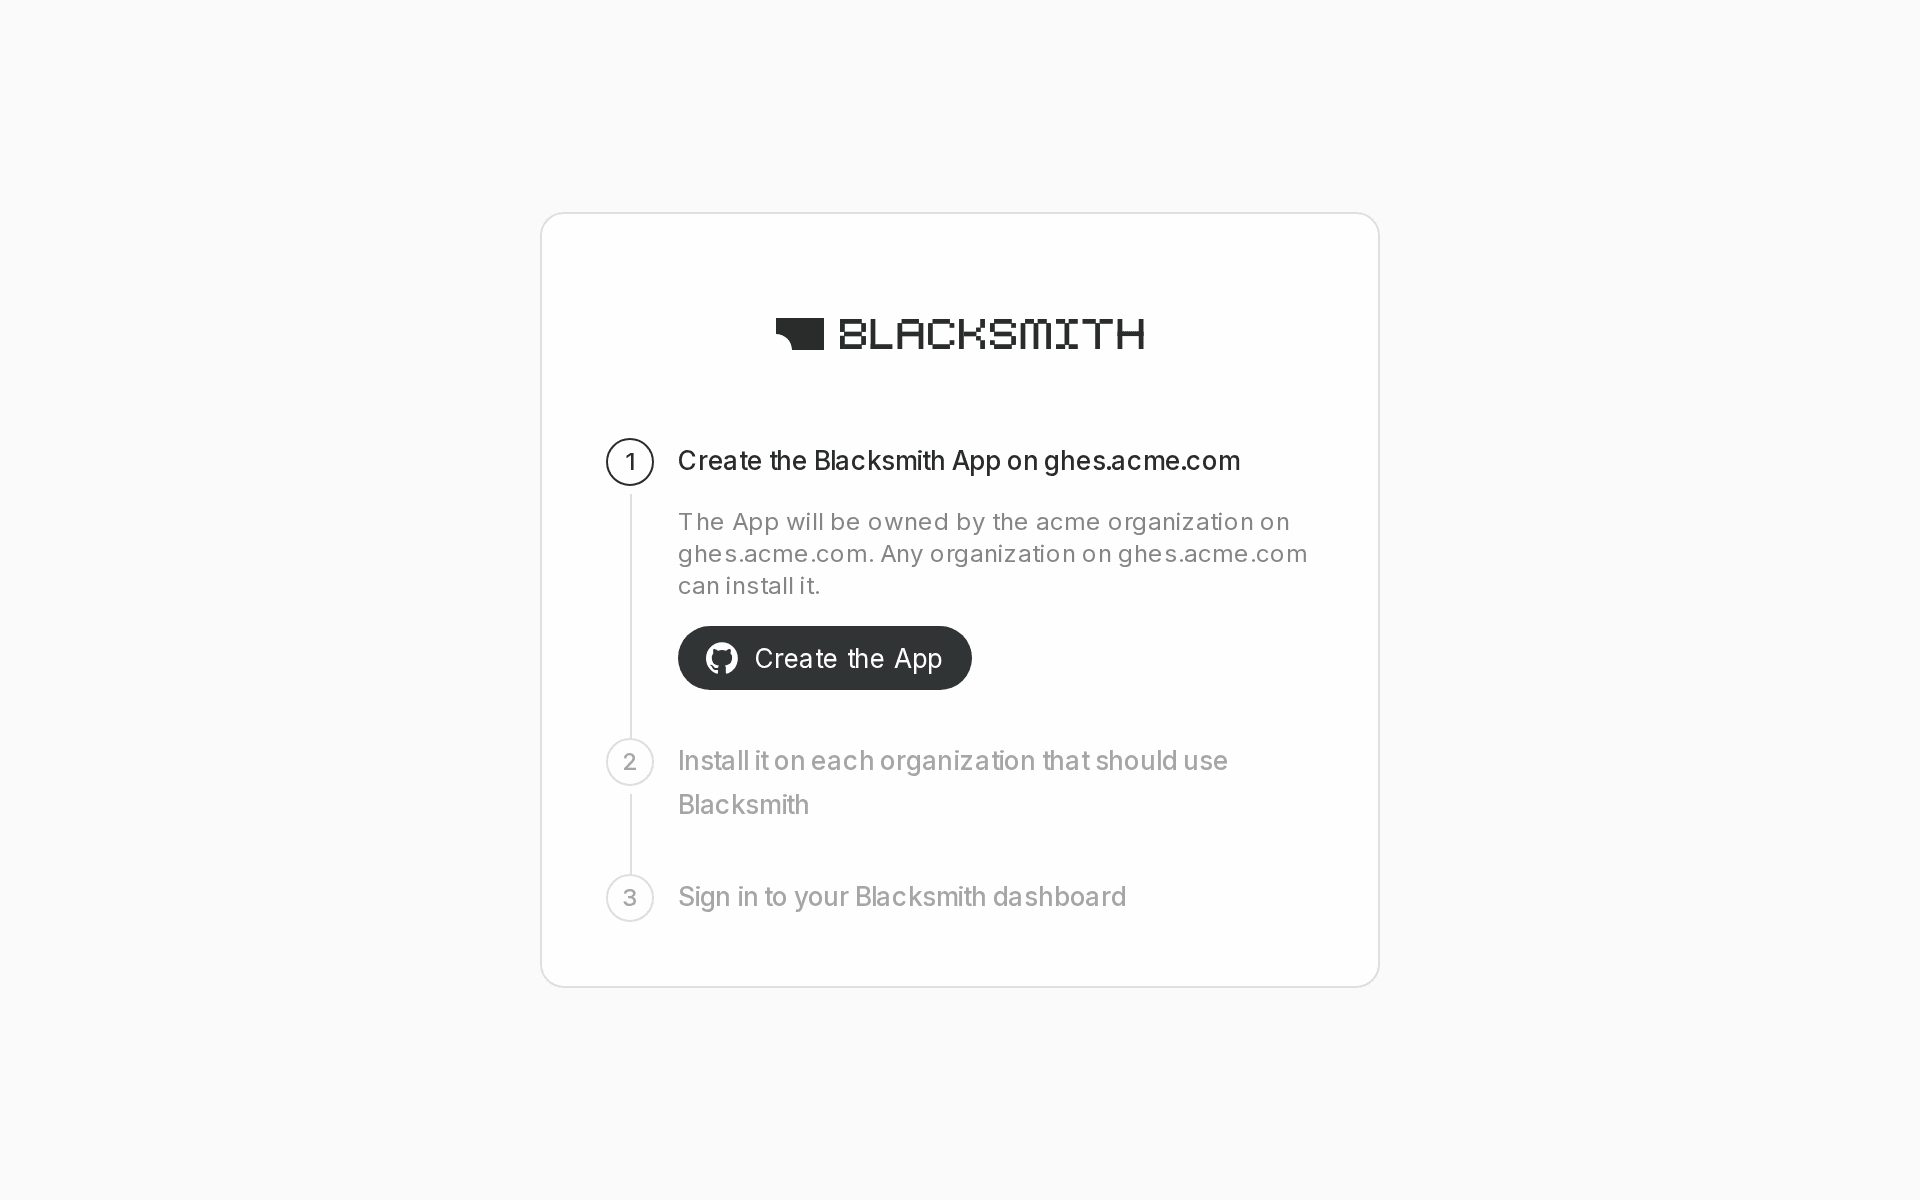
Once your GitHub Enterprise instance is registered with Blacksmith, you will receive a setup link. The setup page will walk you through configuring your GitHub instance to work with Blacksmith.The setup link is valid for 7 days and can be used once. Open it as a user who can create GitHub Apps on your instance and authorize apps for use in your organization.
1
Open the setup link
The page shows your instance’s hostname and the three steps to connect it.
2
Create the App
The card names the organization that will own the Blacksmith App; it comes from the setup link support issued for you. Any organization on your instance can install the App.Click Create the App. Your instance opens GitHub’s Create GitHub App page, prefilled with Blacksmith’s app configuration. Review it and click Create GitHub App. GitHub sends you back to Blacksmith.
3
Install the App
Click Install the App and pick an organization on your instance. Repeat for each organization that should run jobs on Blacksmith. As on github.com, you can grant access to all repositories or to a selection.
4
Sign in to Blacksmith
Click Sign in to Blacksmith. You authenticate against your instance and land in the Blacksmith dashboard for your enterprise. Everyone on your team signs in through the same login link,
https://app.blacksmith.sh/enterprise/<enterprise-name>/login.Make Blacksmith actions available
GitHub Enterprise Server can’t use actions from github.com by default, so jobs that referenceuseblacksmith/* actions, such as useblacksmith/setup-docker-builder or useblacksmith/stickydisk, fail until a site administrator enables them via GitHub Connect or imports them manually. These actions are optional: jobs run on Blacksmith without them.